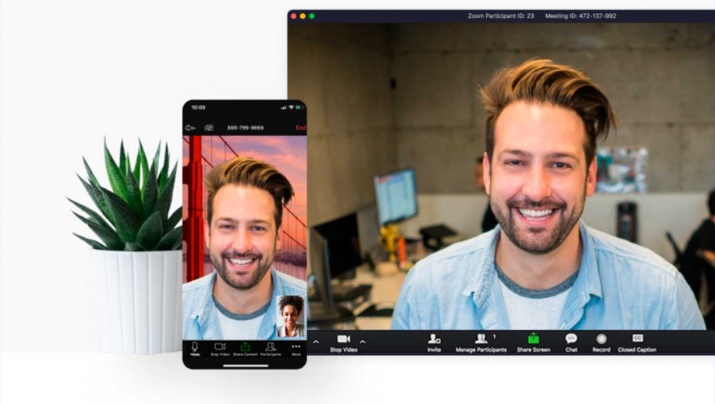
Most of the users were already familiar with these types of tools due to the people who used Skype sporadically or more. But the current situation has made us have to become advanced users of this type of application if we want to continue to connect or implement a normal work routine that we can request.
There are many apps for making video calls, the most popular of which are Skype, Zoom, or Teams. All of them are very beneficial to the business model for which they are designed. But if in addition to the real-time meeting I want to record the video call so that I can analyze it later, how can I do that?
How do I record my video calls?
In a face-to-face meeting, it is much easier to discover the details of the rest of the interlocutors, through their gestures or their body language we can know if they are interested in what we are talking about and usually we focus all our attention on what happens. On the other hand, in a video call, discovering these details is more complicated, either because the other person or people did not activate their webcam or because we could easily be distracted and lose focus of attention. So that we can analyze the meeting later, we can record it and review it later to get the most out of the decisions we have to make.
Next, we explain how to record video calls in various apps.
Skype

Skype allows us to record video calls without the need to install a third-party app. Bear in mind that recording will only be available for calls between Skype users. Once we start recording, all attendees will be notified to start recording. After the call ends, the recording stops automatically.
To record the call, the following steps must be taken:
- During a call, tap the three dots icon to see more options.
- If you are using the desktop app, you should click Start recording. If you are using the application on your mobile phone, tap the registration icon.
- At that moment, a banner will be displayed informing all meeting members that registration has started.
- Once the call is done, the recording is posted in the chat and will be available for 30 days so we can download and save it.
To save the conversation, you must enter the chat and click More options And click Download File. We choose the save path and we will provide the call recording in .MP4 file
Difference
Teams, Microsoft’s app, allows us to record calls directly from its own platform. In this case, bear in mind that we will be recording the meeting, but the final video will not show the screens we shared or the notes, as they were not recorded in the meeting recording itself.
To record the meeting, follow these steps:
- We have to start a meeting or join an existing one.
- In order to start recording, we have to go to the meeting controls and click on the icon More options. A drop-down menu will be displayed and we must click on it Start recording.
- At that moment, all gathered people are notified that registration has started with a banner and the notification is also recorded in the chat history.
- If we want to stop the meeting, we have to go to Meeting Settings again and click More options. In the drop-down menu we choose Stop recording.
- The recording will be processed and saved to OneDrive.
In Teams, no one in the meeting can start or stop recording. The following requirements must be met:
We must have an Office 365 license and we must be the meeting organizer or we must be from the same organization.
Zoom in

Zoom, the popular conference calling app, lets you record meetings without needing to use third-party apps. In order to record meetings, we must have a Zoom Basic account, either free or premium, and Zoom client version 2.0 or higher. The first thing to do is enable local recording, because without this option Zoom does not allow meeting recording.
To activate it, you must log in to the Zoom web portal and as soon as we arrive, we press Account settings.
We press the tab Sign Up In the “Local Registry” section we check that the option is enabled, and if not, we push to enable it. Once done with this setup, we will be able to record the meetings and can do so by following these steps:
- We started the meeting as a host.
- In the options bar, we click on the icon
- At this time, both the host and the guests will be notified that registration has started with an icon in the upper left corner.
- In addition, if we display the list of participants, a registration icon will appear next to the user who initiated it.
- Once the meeting ends, the message “You have a recording that needs to be transferred before the show” will appear. Once the program completes the conversion process, the folder where the files were saved will be opened automatically.
The file saved by default is an audio / video file with the extension $ .MP $. If only audio is recorded, we will download .m4a file.
Google is dead

Finally, we bring you another of the 4 most popular tools for making video calls. In this case and in the same way as the other three, Google Meet lets you record meetings without the need to install any additional software.
To record video calls we must have one of the following versions:
- G Suite for Schools.
- G Enterprise Suite for Schools.
- Necessities
- Business standard
- Business Plus
- Enterprise basics.
- Enterprise standard
- Enterprise Plus editions.
If we have one of these versions, we can record the meeting as long as we are the organizers of the meeting, we belong to the same organization as the organizer or we are a teacher and are logged into a Google Workspace account.
To record the meeting, the following steps must be taken:
- We open Meet and join or start a meeting.
- If we click on Plus. We can click to record meeting.
- Once recording has started, all participants receive notification.
- When we want to end the registration, we will return to it Plus And we press “Stop Recording”. You need to confirm the action to stop recording.
- Once processed, the file will be saved in the configured recordings folder.

Lifelong foodaholic. Professional twitter expert. Organizer. Award-winning internet geek. Coffee advocate.

